Homemade Hoverfly Lagoons

Homemade Hoverfly Lagoons

Myathropa florea, the batman hoverfly. Image by Ryan Clark

With the latest Wild About Gardens focus on hoverflies, Danielle Page talks us through how to create one particular habitat to tempt more of these incredible insects into your garden.

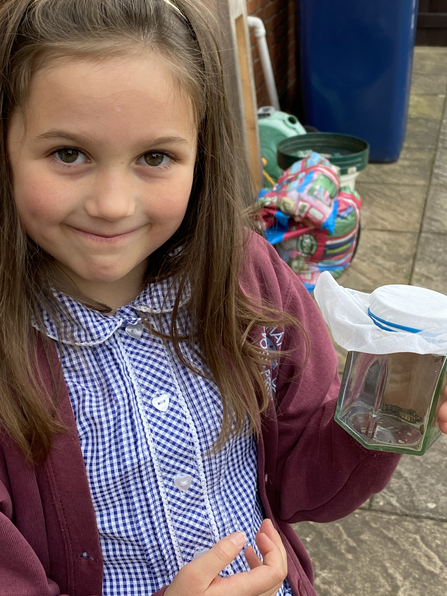
In the locked-down spring of 2020, and as a new member of the Great Fen team keen to learn more about wildlife, I came across a project inviting people to create and monitor hoverfly lagoons in their gardens. Unfortunately, I was never organised enough to do the reporting, but I really enjoyed the process of creating and observing the lagoons with my daughter. With this year’s Wild About Gardens focus on these fascinating and colourful pollinators, it seems a good time to share what I learnt from my experience. It has also prompted me to set up another immediately.

The project

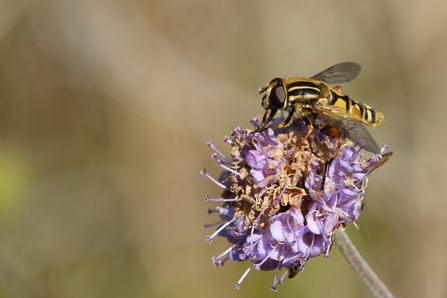
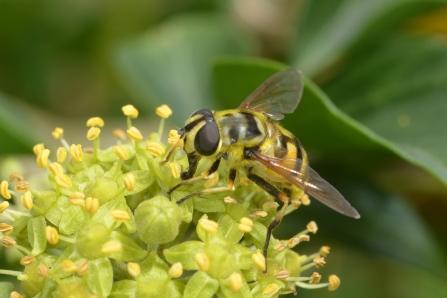
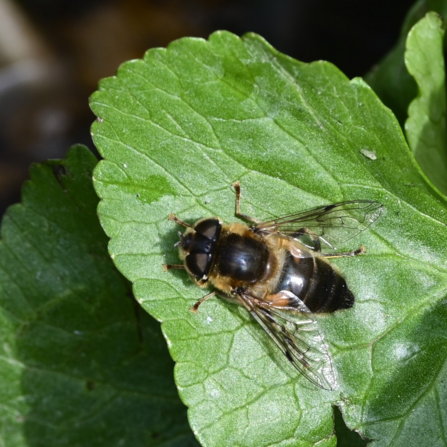
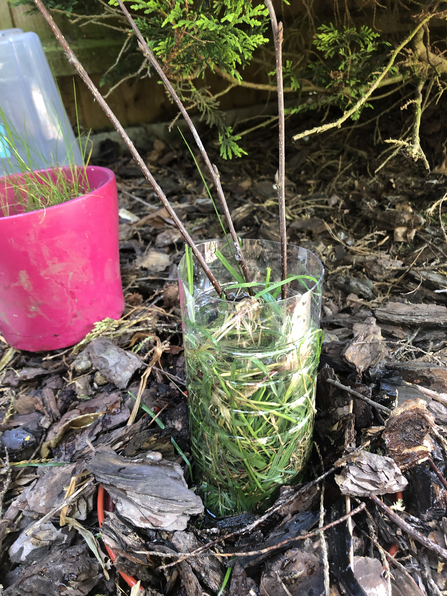
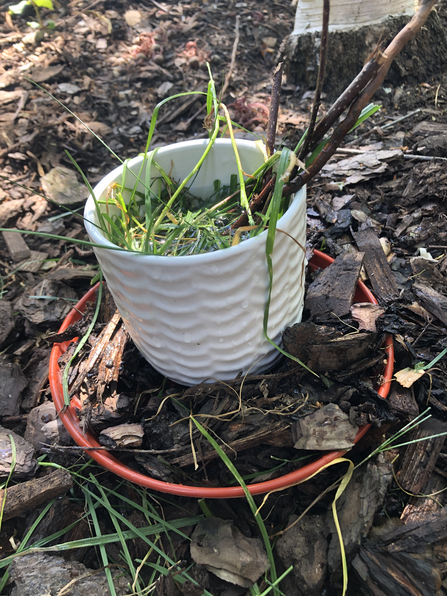
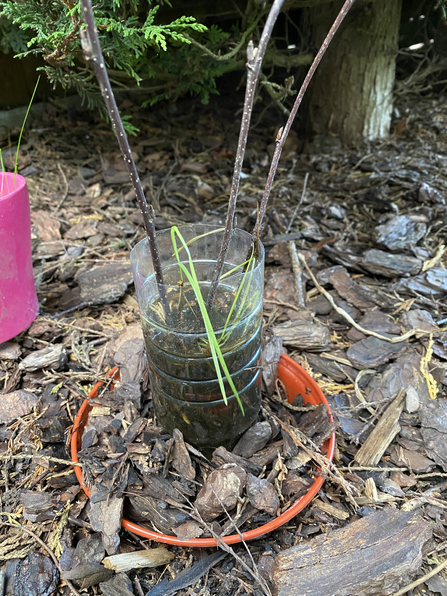
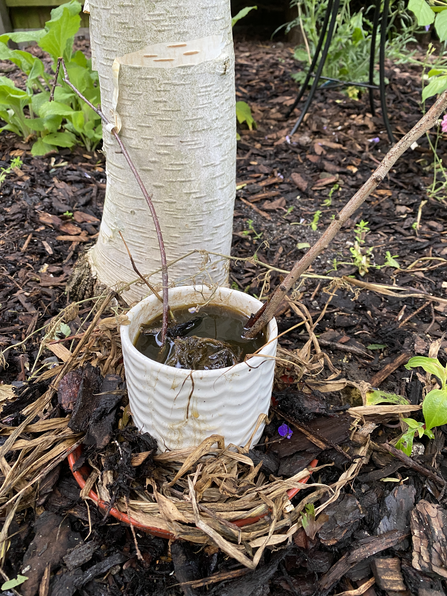
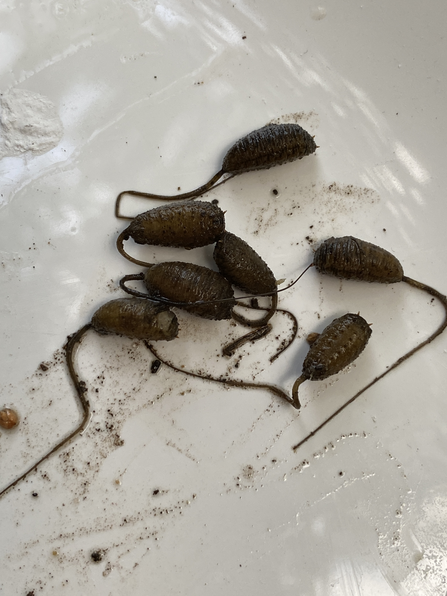
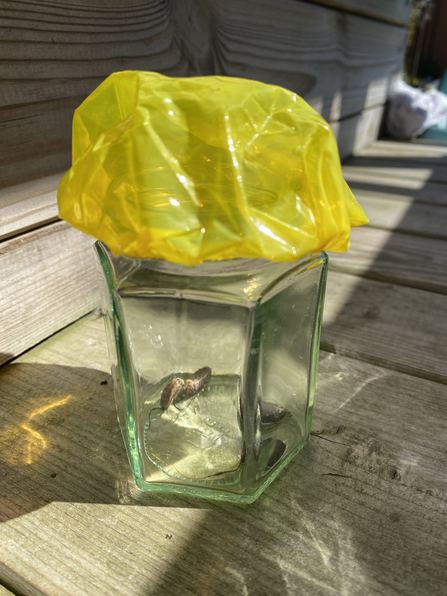
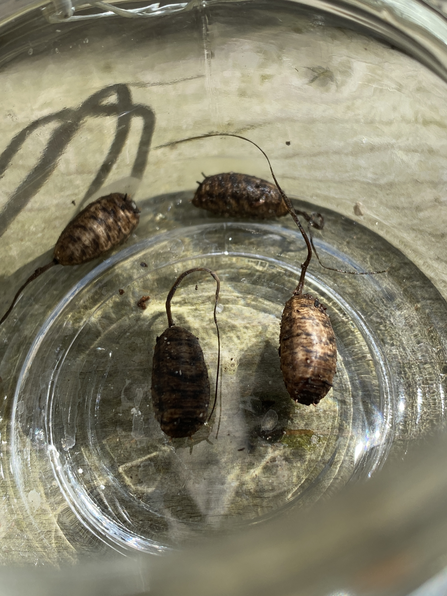
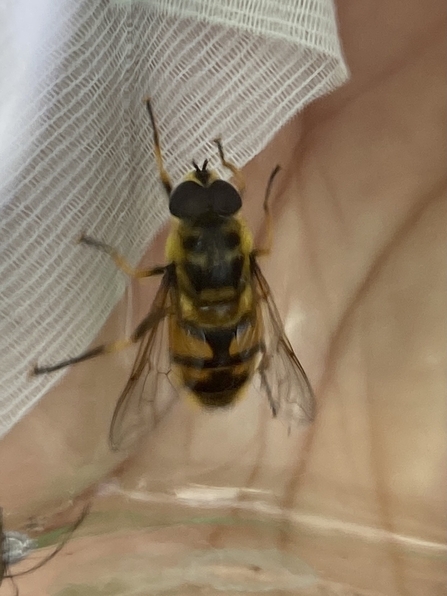
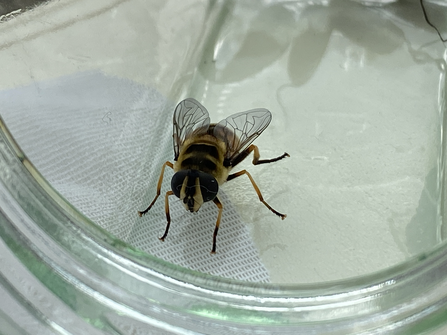
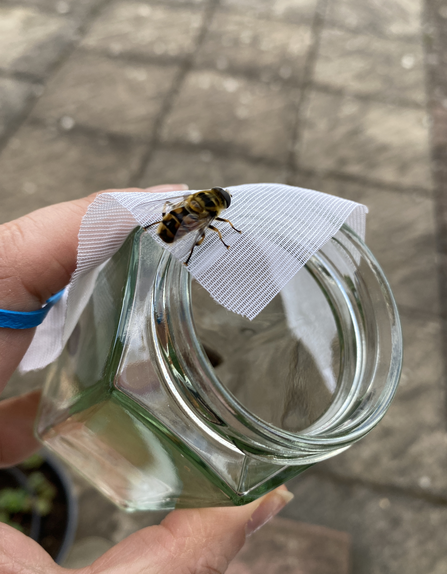
The hoverfly lagoons project was set up by Dr. Ellie Rotheray from the University of Sussex. Dr Rotheray highlighted that whilst the plight of pollinators is well documented, research and publicity tend to focus on bees. Hoverflies are often overlooked, or mistaken for other insects, yet they are a vital part of our wild environment. There are over 280 hoverfly species in the UK and their life cycles vary. Lagoons are designed for those who have an aquatic larval life stage. These tend to be from the Eristalis, Myathropa and Helophilus families and some have fantastic common names like the Batman or Footballer hoverfly. A natural lagoon may be in a ‘rot hole’ in a tree, but our gardens, and even wild spaces, often lack these habitats, with trees rarely allowed to decay naturally in favour of tidiness or space.

The process

It's surprisingly easy to set up a hoverfly nursery!

  • I started with an empty plastic cordial bottle, with the top cut off.
  • I added holes below the brim – this allows water to flow in the case of rain, but without all the contents being washed out.
  • I filled my bottle with grass, as I couldn’t find much leaf litter. Compressed this down and filled it with rainwater.
  • Sticks were added, for the larvae to climb up when they’re ready to pupate.
  • The bottle was set in a plant pot tray. I added bark chippings too for the larvae to pupate under. This could have been leaf litter too. It just needs to stay dry.
  • I placed them in shade under trees at the bottom of our garden where I hoped they wouldn’t be disturbed.

I also tried a version in a plant pot. The downside to this container was no drainage holes, so the contents were at the mercy of the wet weather. Dr Rotheray also suggests trying glass jars, stainless steel cooking pots, seed trays or more durable plastic pots. All of these have pros and cons, but it can be interesting to see which the insects find more successful.

If you were to stick to the official protocol of Dr Rotheray’s research, a step should be added for weighing the filled container before water is added. Ideally, each month your lagoon is also searched, and the plastic bottle replaced (to avoid plastic degradation and chemical contamination of the lagoon and environment). 

The results

Some time later, in July, I re-discovered our lagoons, grass very well-rotted and sufficiently stagnant, and delighted in taking a peek. There were lots of wonderfully plump, creamy-coloured creatures wriggling through the plant material – the rat-tailed maggot larvae of the hoverfly! It’s incredible to think such a foetid environment would be attractive for any animal, but it’s filled with dissolved and suspended food particles for the larvae to eat and their long telescopic breathing tubes (the ‘tails') enable them to access oxygen from the surface.

I also checked the trays, and discovered lots of much darker, hard cased objects – the pupae. It was great to see we had positively affected the population of hoverflies in some way.

In the April of the next year I checked back in, and although the plastic pot had been knocked over, the plant pot was still standing and we found four more pupae. These we transferred to small glass jam jars in the hope we could finally see them hatch. Initially I tried covering them with reusable plastic food covers with a couple of air holes added. However, on advice from a helpful member of the Wildlife Trust BCN’s Monitoring and Research Facebook group, I swapped this for a lid of meshed material secured with an elastic band. I think it was an old net curtain. Muslin, gauze, organza would all work. Another option is to invest in Bugdorms. Then we watched daily to see who emerged.

Just one week later, we were excited to discover live hoverflies in the pots! We had a mix of male and female Myathropa Florea, also known as Batman hoverflies. They’re called this due to the distinctive ‘Batman’ logo-shaped mark on their thorax. You can tell the sexes apart by their eyes. Male flies have eyes that meet in the middle whereas the eyes of females are clearly separated.

I realised that being warm indoors, they hadn’t been able to time their emergence with the best of weather conditions. It meant some were released on a cold, wet and windy day which didn’t seem ideal. I’d definitely keep them somewhere unheated next time.

Top Tips

  • Set a monthly reminder for the survey and bottle swap.
  • Try a variety of lagoon containers in different locations.
  • Have your observation pots/jars ready before checking for pupae.
  • Label each pot with the date collected and which lagoon they’re from.
  • Store pupae in an unheated room, shed or garage – but remember to check them daily!
  • Report your findings to the project and share your photos with @wildlifebcn on your socials.
  • Plant year-round nectar-rich food sources for the adults, like blackthorn, umbellifers and ivy.

Now it’s your turn...

Registration is now open for the 2025 Hoverfly Lagoon project and the new Wild About Gardens Hoverfly booklet from the Wildlife Trusts and RHS is available to download. I hope you enjoy learning more about these incredible insects and how we can all help improve the biodiversity of our gardens. I’m off to make my new lagoons and hope to hear all about yours too!

A young girl crouches on a patio looking at a hoverfly on the ground in front over

Saying hello and goodbye to the newly hatched hoverfly

Illustrated guide to making a hoverfly lagoon

Wild About Gardens to making a hoverfly lagoon

Hoverfly

Want to learn more about hoverflies?

Book your place on this hoverfly ID workshop
Hoverfly - Brian Eversham

Take action for hoverflies and go Wild About Gardens

Download this new free hoverfly gardening guide