How to build a mini stone wall
Drystone walling is a tradition dating back hundreds of years that was used to mark field boundaries and even keep wolves at bay! This tradition continues today, in both the countryside (it’s estimated that there are more than 5,000 miles of drystone walls in the Yorkshire Dales alone!) and in gardens, where mini drystone walls make attractive features.
As the wall ages and matures, gaps become a bit larger and so do the animals that can use the wall.
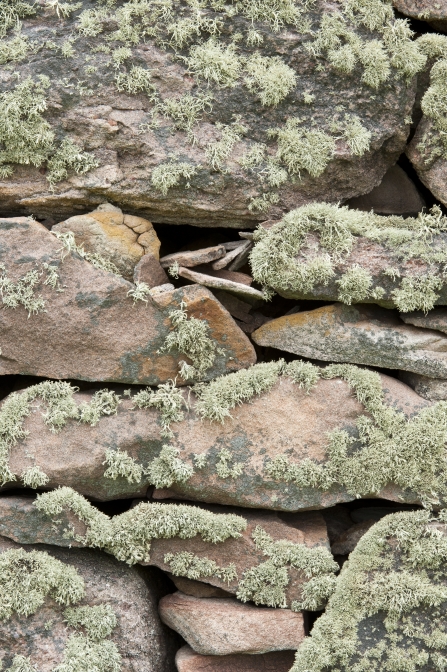
Built without using mortar, drystone walls have many nooks and crannies, and it is these spaces that makes them so valuable for wildlife. Lichen, mosses and ferns grow on and between the rocks; mice, stoats and voles hide in the gaps; bees visit the nectar-giving flowers that grow in less exposed areas; and frogs, toads and slow-worms shelter in damp crevices.

©Niall Benvie/2020VISION
You will need:
- Spade.
- Large and small stones of your choice (limestone is often used).
- Large, flat stones to form ‘cap’ or ‘coping’ stones.
- Plants (herbs, alpines, ferns, larger flowers like red valerian and foxglove – select your plants based on the conditions your wall will face, e.g. shady, full sun, damp, exposed) and peat-free compost if you wish to add instant interest.
Building your mini drystone wall:
Drystone walls are actually made of two thinner walls that are built very close together and ‘in-filled’ with small stones. As these twin walls are built, they start to form an ‘A’ shape. Larger ‘through stones’ may span the width of the structure to increase its strength.
- Select an area to build your wall. For maximum wildlife value ensure that at least some of the wall is in shady, even damp, conditions.
- Start the base off by digging a trench for the first layer of stones.
- Place larger stones at the bottom of the trench and, where necessary, infill along the base with smaller ones.
- Build the wall up on two sides. Lay the stones in layers; in each layer, make sure each stone’s long side is facing into the wall (rather than along the length of the wall). Stones should touch below and to the side and should be as horizontal as possible.
- As you build up the sides, make sure to fill in the middle with smaller rocks. Remember, whatever the size of your wall, have a wider base and taper it as it goes up. This will give added stability.
- If your wall is going to be large, add large through stones (that span both sides) at roughly one-metre intervals for increased stability.
- Add a neat layer of coping stones at the top to finish off, making sure that they are in close contact with the wall.
- If you wish to plant-up your wall, it is ideal to add a little peat-free compost, grit and your chosen plants as you build, but it can be done at the end – just use small plants or seedlings, as larger plants may not have enough room to grow.


